
Automated waiver signing will significantly reduce your workload and paperwork. In PawsAdmin, we automatically ask your customers to sign the latest waiver and save a copy in their profile. The signing process can be completed on any device, whether it's a mobile, tablet, laptop, or desktop, across all operating systems. Here is how it works:
Steps to Activate Automated Waiver Signing:
1. Activate Automated Waiver Signing:
- Path: From the left side menu, navigate to:
- Here, you can enable the automated waiver signing feature.
2. Use the Default Waiver Template Content:
- Click 'Copy' to add the default waiver template content to the waiver text box. Make any necessary changes.
3. Or, Add Your Own Waiver Content:
- You can customize the waiver text as per your requirements.
4. Save the Changes:
- Ensure to save your changes to activate the waiver signing process.
5. Test the Feature:
- Once activated, try it out by adding a new customer. After adding, you will be automatically redirected to the signing page. In the store/admin view, you have the option to skip the signing and complete it later.
- Check the 'Invite customer to claim their client portal' checkbox to send an email to the customer. They can complete signing the waiver before making their first reservation.
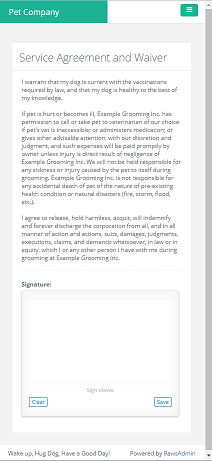
6. Customer View:
- In the online booking/client portal view, your customer will be directed to the signing page before making a new reservation.
7. Accessing Signed Waivers:
- You can find the signed waivers in the customer's profile.
Note:
Each time you update the waiver, your clients will be prompted to sign the new waiver. ✌️
Need Assistance?
If you have any questions, please do not hesitate to contact support!